How To Put On A Dog Harness The Right Way
A dog harness is an important piece of equipment for every dog parent. Here's how to put one on correctly & which one might be the best fit for your buddy.

There’s no question that a harness is one of the safest ways to walk your dog. They’re difficult for dogs to slip out of and protect against neck strain. So here’s a step-by-step guide on how to put on a dog harness – plus where a dog GPS tracker can come in handy – so both you and your dog so you can enjoy safe, comfortable walks together.
How to put on a dog harness: Your step-by-step guide
1) Get your dog used to the harness
Before you attempt to put the harness on, let your dog inspect it. Hold the harness up for your dog to sniff. Or place it on the floor so your dog can investigate the strange contraption at their leisure. This simple step allows your dog to become familiar with the harness.
With time, it will be easiest to put the harness on if your dog is calm. If necessary, wait until your dog stops jumping or wriggling before attempting to put the harness on.
2) Orient the harness
Before you proceed with putting the harness on, make sure you’ve it oriented correctly. When using a new harness, it’s easy to become confused by all of the straps. (Especially if they become twisted by a wriggling pup.)
The easiest way to orient a harness is by identifying where the D-rings that you clip the leash to should be positioned. Typically there will be one on the chest or on the strap that rests on top of your dog’s back. Some harnesses have both.
3) Put the harness on
There are many different harnesses on the market these days, so the exact steps to fasten your harness may vary slightly. Some harnesses are very straightforward, and others have multiple fastening points. Check your harness’s package for a diagram of how to put it on correctly.
- If you’re using an over-the-head harness, slip the harness over your dog’s head and tuck the chest piece under your dog’s chest. Then, fasten the straps around your dog’s body behind the front legs.
- If you’re using a step-in dog harness, place your dog’s paws through the triangles on either side of the chest strap. Then, buckle the harness around your dog’s body.
4) Adjust the straps to fit your dog
Now that the harness is on your dog, you may need to adjust it to fit properly. Observe your dog in the harness for a few minutes and take note of any fit issues. Does it look like the harness might slip off? Is it sagging too much in any area? Is it too tight and inhibiting your dog’s range of motion?
The harness should be snug enough to not slip off your dog even when they are sitting or laying down. At the same time, you want it to be loose enough that it’s comfortable for your dog. Make sure you can fit two fingers underneath any of the harness straps.
5) Try the harness on without leaving the house
Don’t wait until right before a walk to put it on. Your dog will be anxious to get out the door for a walk, and you will likely become frustrated because your dog isn’t cooperating with your attempts to put the harness on. Instead, help your dog get used to the harness by letting them wear it around the house. This will also help you ensure you’ve adjusted it correctly. (So they won’t wriggle out of it while on a walk.)
Once your dog is comfortable with that, progress to buckling one of the straps. On the first attempt, maybe rest the harness around their neck and reward them. Depending on your dog’s comfort level, it could take multiple days to progress all the way to fully fastening the harness. Be patient and offer lots of praise; you’ll get there eventually.
6) Consider attaching a GPS dog tracker to the harness
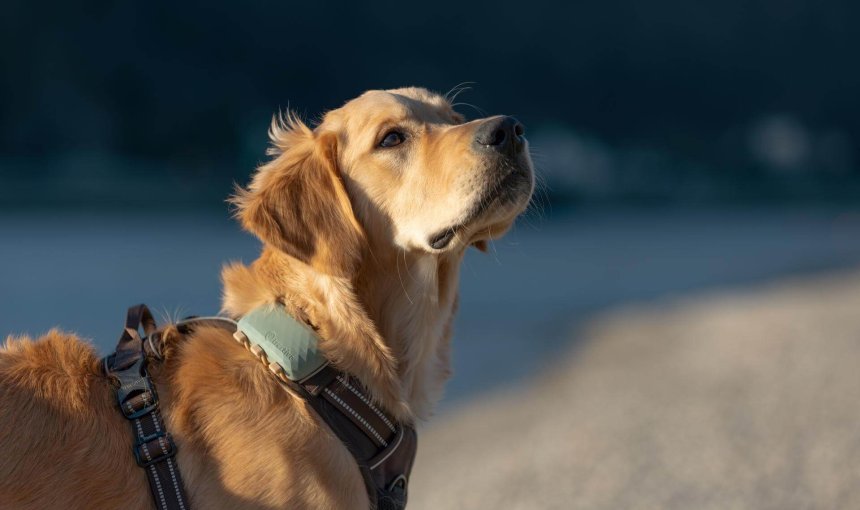
For safety, don’t forget to fasten your GPS dog tracker to the harness before you leave the house. Ensure that it’s pointed toward the sky for consistent tracking. Alternatively, if the harness has a pocket, you can slip the tracker inside to keep it secure.
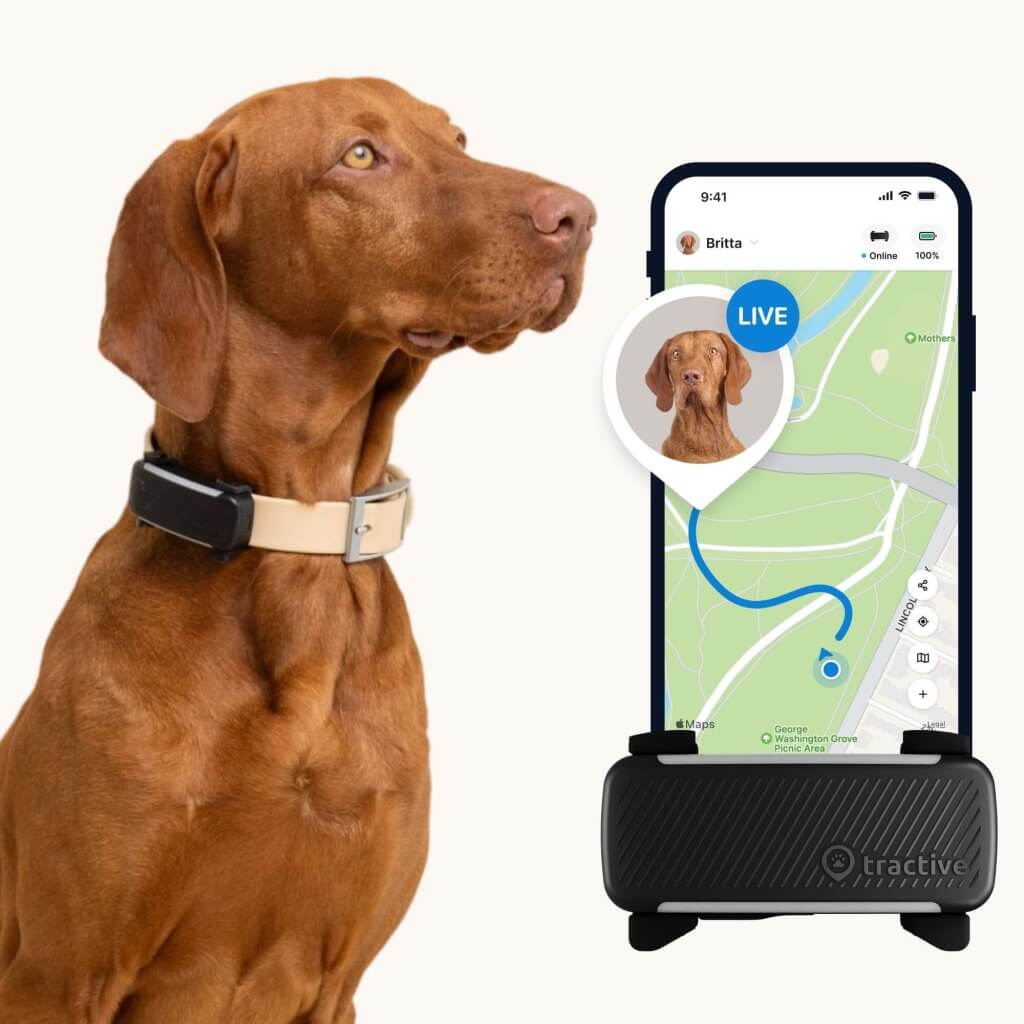
With unlimited range, Tractive GPS lets you track your dog down if they take off with you – no matter how far they run. Just go into LIVE Mode in the app to track them in real-time.

Follow your dog anywhere
Get real-time location information, wherever they go. And find out when they try to make an escape, or just when they go somewhere they shouldn’t, with Virtual Fences.
Tractive GPS also lets you monitor your dog’s activity levels which helps you understand what their normal is. That way, you can set goals or note any sudden changes.
Which type of harness is best for your dog?
There are a few different styles of dog harnesses to choose from, and it may take some trial and error to find the best harness for your dog. Harnesses are typically differentiated by how they go onto the dog (step-in versus over-the-head) or by where the leash attaches to the harness.
Of the two ways to differentiate, the leash attachment location is the most important consideration as this affects how you control your dog. Let’s take a look at the three most common types of harnesses:
Front-clip Harness
Front-clip harnesses have a leash attachment that aligns with the center of a dog’s chest. These harnesses are commonly used as a way to stop dogs from pulling. Because the leash attaches to the front of the harness, any time your dog pulls, you can redirect them back toward you, reminding them to look to you for direction.
While these harnesses can be handy for directing your dog, front-clip harnesses often get tangled around a dog’s legs if there is any slack in the leash. This can be frustrating for both you and your dog, especially if you plan to go running with your dog.
Back-clip Harness
With a back-clip harness, the dog’s leash attaches to a loop on the dog’s back, usually between the shoulder blades. These harnesses are a particularly good option for small dogs as they keep the leash out of the way of their legs while giving you full control of the dog.
Dual-Clip Harness
Dual-clip harnesses have clips on both the front and the back of the harness, allowing you to choose where to clip the leash. If you’re not sure which location will work best for your dog, a dual-clip harness might be the right place to start.
When you’re learning how to put on a dog harness for the first time, patience is key. Of course, there’s a good chance your dog will be cooperative and everything will go smoothly. But, if that’s not the case, keep trying, and use plenty of positive reinforcement along the way.
And remember, there are all kinds of harnesses out there; it may take a few tries before you find the right one for your dog. Once you’ve mastered the harness, learn how to teach your dog to walk on the leash (dog leash training).


